
Earlier in the week I read a post by Jennie over at Tangerine and Turquoise about her log cabin pillow project for her sweet boy's classroom. The work in progress caught my eye, as did her explanation when I left a question in the comments. I wanted to know the how and her simple reply was to cut a center square, grab scrap cut stash pieces and see if they fit. Now, that is my kind of instruction.

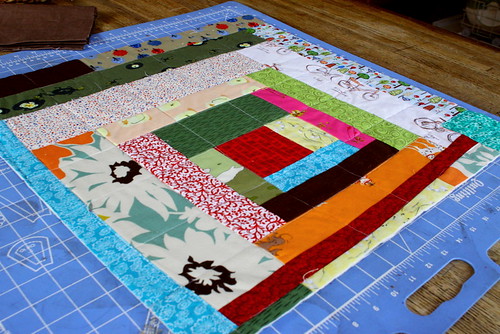
Thursday I gathered up the plethora of scrap that has resulted from cutting hundreds of 4" squares for the stash quilt and set up a simple portable iron and trim table next to the sewing machine in order to eliminate having to move back and forth while sewing and cutting and I got to work... and almost forgot to pick up the boys from school because this project was totally engrossing.
The idea for a portable iron table came from Jenny too, and I think it was a major help, it made the piecing flow and kept me from the fatigue that usually happens when I have to get up, walk across the room to the ironing table, steam, cut, walk back....etc. And I vaguely recall in my initial reading of Amy Karol's book that it really does behoove you to set up your sewing table in such a manner.
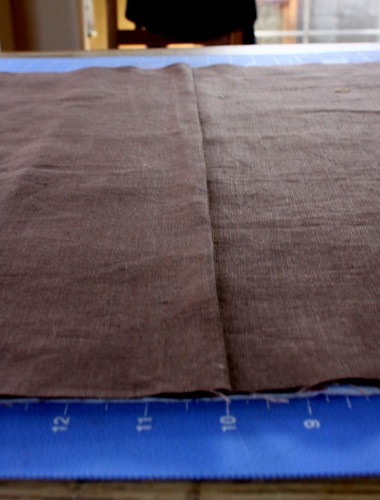
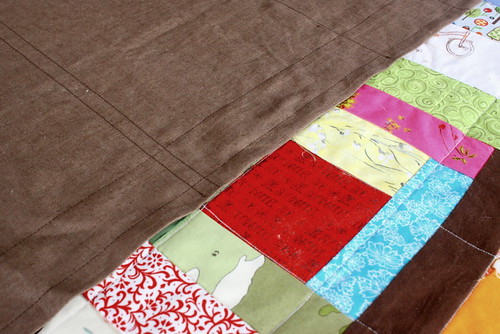
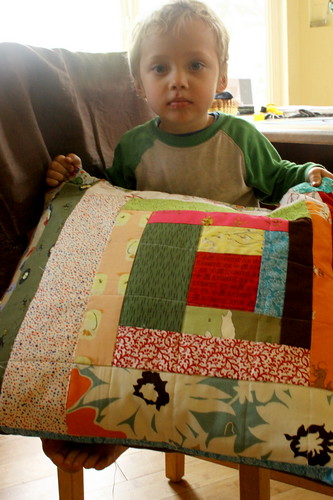
In no time I had a piece large enough to cover a pillow and then I quilted it with some straight lines, doubled up chocolate-colored linen for the back of the pillow and it came together in a very simple fashion this morning. My first log cabin, if you can call it that. My first home decor and a first in the 'quilted with some type of pattern' technique.
And I love it.
I was always a little intimidated by the idea of quilting, searching for a right way to approach it, but this taught me that there is not necessarily a 'right' way, rather there are lessons and practice in the act of actually doing it. The piece is off center because at some point I think I stopped rotating it or something, there is an odd little patch piece in the corner because I cut through the finished piece before quilting (classic Amiee move) and I gave no thought to color, just grabbed and pieced as instructed by Jenny.
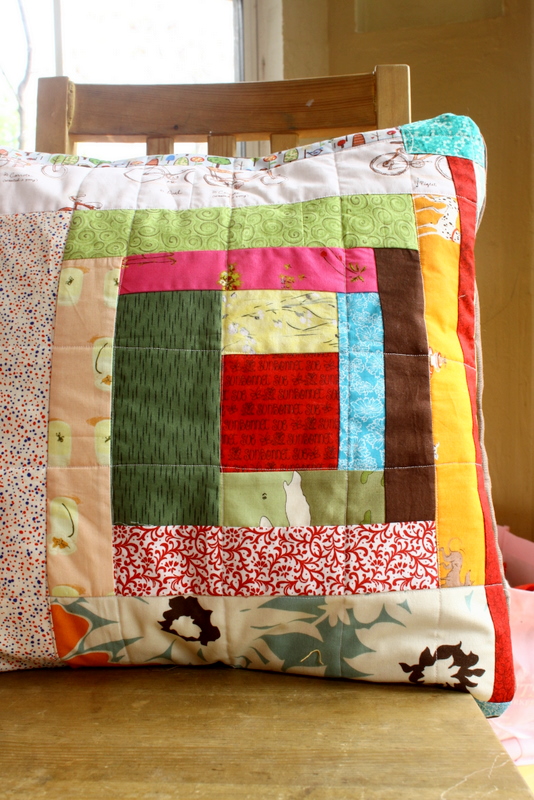
End result? Love. And inspiration to make 100 more...this is such a great way to actually use and 'see' the fabrics that I cherish so dearly.
What have you been waiting too long to do, my friends? If there is that 'something' I say, try it. Ignore worst case scenarios, don't hesitate, give it a go...you might end up with pillows or photos or who knows. Pretty cool.
7 comments:
Love, too. It is beautiful!
It looks great! I'm glad your experience was successful. I need to make some big floor pillows like yours.
Damn, that's beautiful. I'm so intimidated by quilting. When I take the plunge, I'll let you know.
Love, love, love it! It is so fantastic!
Man, that is one beautiful pillow!
"Behoove". You really are a gem!
Also, I am glad that someone else has the tendency to cut right through things... remind me to show you the shirt that I decided to cut the itchy label off, mere hours before a job interview, jetlagged as all hell. My dear Mum did a brilliant job of stitching the wretched hole that I ripped, while I cried into my breakfast cereal.
I love love love your end result. It is the perfect complement to your gorgeous little cherub, who was thoughtful enough to model matching colours.
Keep on keeping on, you!
Love the fabrics! I often have scraps like that left over that end up disappearing when I can't think of something to do with them - what a great idea!
Post a Comment