Showing posts with label tutorials. Show all posts

Saturday, October 16, 2010

You Can Be a Hero Too!

So, I spoke of a tutorial on Cape Making and Marnie really wants one so I shall oblige.

A note :: These are simple enough but take a rudimentary knowledge of sewing, a sewing machine and an iron and, er, that's about it. I tend towards the picture heavy, so follow along if you please and make your little peeps or yourself something fun for All Hallow's Eve or any day of the week when you need to feel like a Hero.

(Ooooh, I feel so clever for linking back to my last post. Dork.)


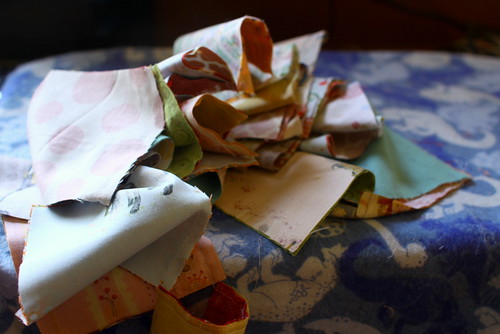
You will need two fabrics, solid or print, and felt from the bolt, not those small paper size squares sold at JoAnn's (unless you want to sew more than you have to).
Be safe and get about a yard of both fabrics.
cape tutorial
I made a few with a cute print from Ikea. If you have an Ikea near, check out their children's fabric section. They sell it by the yard, it is super wide and the prices are great.

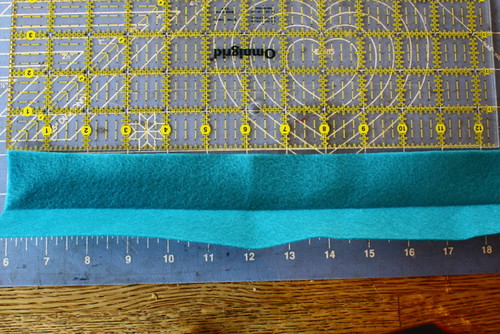
Okay, so on the measurements. I was making these production style so I tried to optimize fabric. The reason for my measurements is that a yard folded in half yields about a 22-23" bottom width of the cape .. feel free to adjustment measurements as you see fit.

cape tutorial

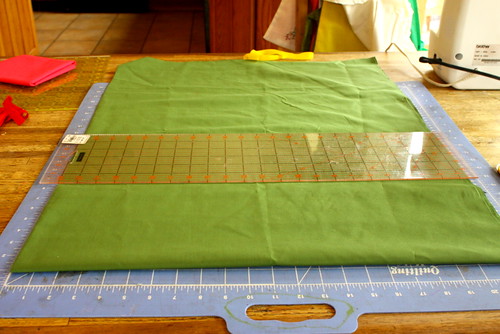
The cape length is about 24-26" long as I am sewing for very little people. Fold your fabrics in half, matching the clean selvage edges and stack them on the cutting board.
cape tutorial

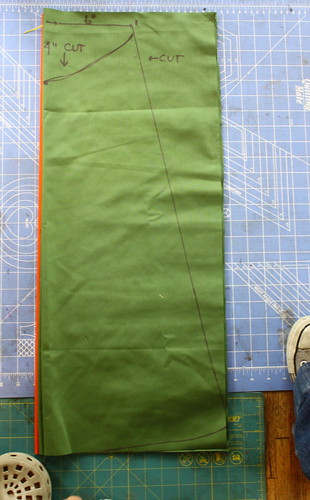
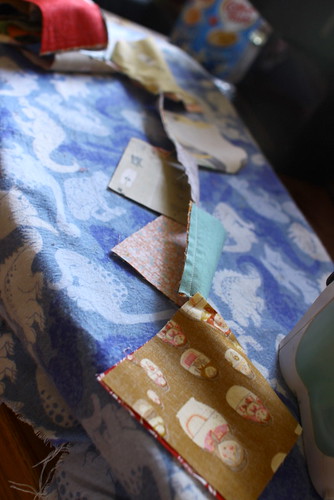
I marked them for you so you can see the cutting dimensions but you should avoid marking them (especially with Sharpies because it bleeds like a mofo).

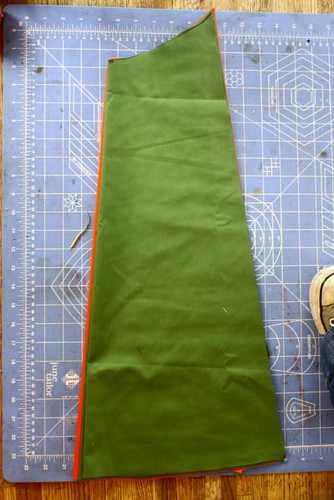
Cut along your preferred dimensions and then cut a nice little scoop for the neck area and a shallow scoop for the cape bottom.
cape tutorial

Pin both fabrics together RIGHT SIDES together, very important if you are using a print fabric. Not so much if you are using solids (eh, they are 4 and do not notice things like fabric grain and side).
cape tutorial

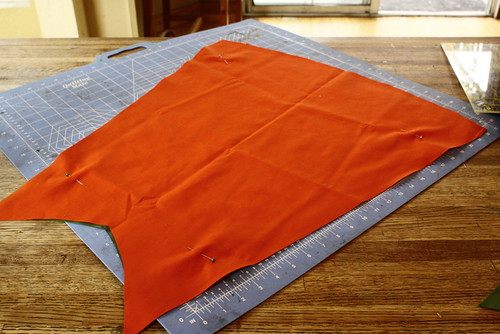
(And by the way, I realize that my cheap cutting mat is horrifically dirty because it is stored on the floor and other places that it should not touch, but I did not clean it and you will just have to ignore my inattention to that detail. Okay?)

Start at the bottom of the cape and sew all the way around the cape to join the two sides (remember, RIGHT sides together) and leave a nice sized opening for your hand to fit through so that you can turn it.
cape tutorial

IRON your seams (trust me, ironing forgives many seaming sins) and turn the piece RIGHT side out and poke the corners with a knitting needles to get them fully poked out (technical term, of course). Then IRON it again until it is all nice and flat and crisp.
cape tutorial

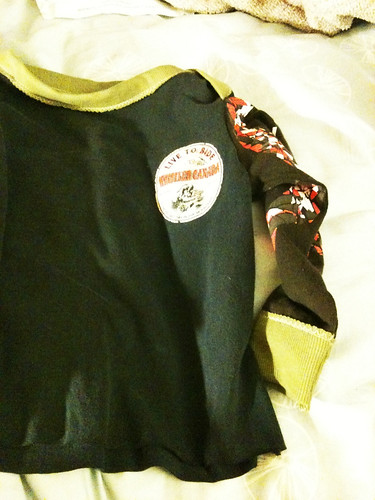
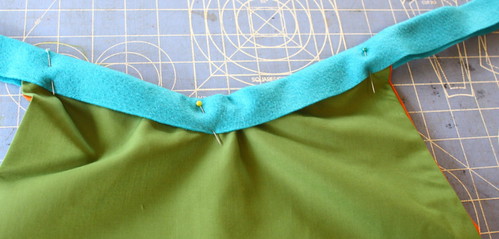
Now, for the neck line. I used felt from the bolt. It is long and you can get a lot of mileage from it. Also it does not require seaming and bends nicely to fit the neck curve. Cut a piece about 3 inches wide and 24-26" long and fold it long ways and IRON it well.
cape tutorial
cape tutorial
(God that cutting board is disgusting. Not a word, you. Not a word.)

Then fit it to your curved neckline and pin in place, then seam it from end to end making sure to catch all edges in the seam.

cape tutorial
Cape Tutorial

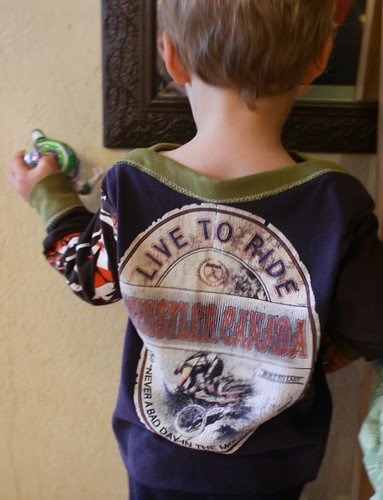
And guess what? YOU have made a simple sturdy cape for your child's pleasure. Or yours if you are going with the adult HERO theme for Halloween.
Done and Done

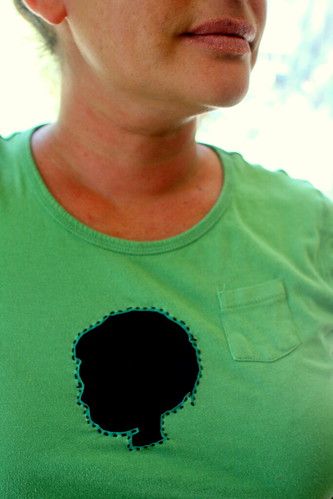
Cut an initial from felt and hot glue gun in place. Or use sticky Velcro. And for the neck you can tie it on or put some more Velcro at the neck closure area (so your kid does not keep asking you to tie it on .... no take it off! ... no put it back on! ... no) (you get the idea, I sure did).

JoAnn's carries a nice iron-on Velcro that I am using. And then you really are done.

And then you can make a pirate eye patch from some felt left overs and t-shirt material.
Pirate Buzz Light Year
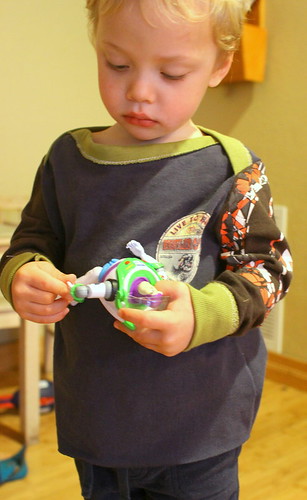
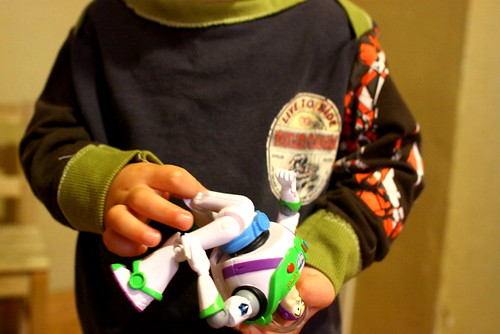
And have the cutest Pirate Buzz Light Year who will not wear a cape because he has wings to fawn over.
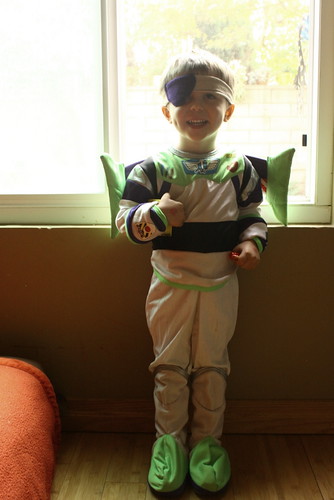
Pirate Buzz Light Year
Fini.

Monday, February 08, 2010

LOVE 1 :: Sewing Knits

I am not a sucker for romance (I prefer gifts from my husband in the form of a new pair of Chucks), but I am sucker for LOVE. This week I think I shall post about things that I am loving. This may be a challenge because my love is currently being divided between two almost thirty pound terribly sick tyrants who recently acquired the black lung. But I am gonna' try to spread a little here this week and hope it comes back tenfold.

Today? I expound on my love of knits. Not knitting, but knit fabric, particularly that of the kind you can sew. I mentioned last week that I sewed my first t-shirt for the boys. It came out quite wearable, if a little Flashdance in the shoulder area. And it really boosted my confidence in the sewing of knits.
sewn :: scrappy shirt

Here is the thing, knit material seems so very intimidating, right? But when you think of it, I have been primed by my healthy love of the act of knitting to understand the fabric better. I know how to 'see' the right and wrong side, I understand the propensity it has to stretch way out, to roll, to shift. So, now not so scary.

But then there is the whole serger issue. I read the Wendy book and immediately wanted a serger. They sound delightful, seams and cutting all in one swoop. Sign me up. But then I borrowed a serger and it scared me too much to really try it.

So, eventually the shirt came together on my regular sewing machine using two stitches, straight and the 'overlock' or 'kind of zigzaggy' stitch. I basically followed the directions from the tutorial, used a 2T shirt for the base pattern and fuddled through it in about the 90 called for minutes.

What I loved? The addition of the cuffs and collar in the ribbed fabric (found at JoAnns).
sewn :: scrappy shirt
I was surprised at how well you can iron knit fabric (I used steam to crease the ribbing) and finished the ribbing with the overlock stitch to decorate it a bit.
And I love that I can use old t-shirts in new ways. And I loved the fact that Mace knew it was for him, made by Mama.
sewn :: scrappy shirt

And I loved that I can still sew the knits even though I will not be investing in the serger in the immediate future.

The not so loves were pretty small...just need to adjust my hand made pattern a bit to prevent neckline gaping, and I found that if I want to use the best parts of the old t-shirts, the graphic area, I have to cut the shirt front and back off the original seam which leaves a raw unfinished edge to the new t-shirt.
sewn :: scrappy shirt
Which I decided is okay for now.

So, to recap Day 1 of Love Week :: I love knits. Yes I do. And I think you should too. If you have been longing to try your hand at sewing your own t-shirts, I say Do It. Just remember to use a rotary cutter to cut your pattern pieces (much cleaner edges that way) and use a zigzaggy stitch at the seams. And have fun with it.

You can find the tutorial here. Now you know what I want to do? Sew some really comfortable underwear. Oh yeah. LOVE.

Tomorrow ? Love of new friends and what they do.

Thursday, February 04, 2010

Making on Thursday

Today after I dropped the boys off at school, I did something I really needed to do. I turned off the computer and the ringer, turned up some NPR and started sewing.

I spent the last few days clearing the recesses of the house while listening to the Adicts (that is one way to psych yourself up to clean a bathroom used by two semi-potty trained boys), ignoring craft for cleaning, focusing on finding some clarity in a home that was starting to feel overwhelmingly cluttered. Once a semblance of order was restored, I gave myself permission to play and it felt oh so good.

I have always meant to quilt something for our room, our bed, and I decided to just go to my stash, cut 4 inch squares from any fabric in the stash and start chain piecing them without rhyme or reason.
patchwork


I always hesitate to quilt as it seems too intimidating; color and pattern, theory and tone. So I just said, pa-shaw. It is for my eyes only, it cannot be all bad as I love all the bits and pieces that comprise my fabric stash. So far I have had fun learning (or maybe just making up?) my chain piecing, pressing and leaving the duos aside until I make enough.

strung
patchy


The quilt will be based loosely onthis lovely one I found on FLickr. If my math serves me right, I need about 900 squares. Well, at least I am one third there. I intend for it to be a lightly batted summer quilt.

And then, I do not know if you noticed on the side bar, but this month has been declared the month of the BOY. The very first tutorial was a sweet little shirt with fold over shoulders. It is perfect for using up all those t-shirts I cannot convince Tim to donate. Today I sewed my first knit shirt for the boys.


And I can say it was fun. I just finished and they have yet to try it on as they are fast asleep, but it sure looks cute. I love that it is made from a t-shirt Tim bought on our last Canada trip where the boys were (um) made, let's say. (Oh, how I wish we were in Canada for the Olympics). I see many more of these coming off the needle. And I did it all on the regular old sewing machine. I tried a serger, but was immediately confused so I switched to a stretch stitch on my machine and it seems to work just fine.

And last but not least, I finally ditched my terrible knitting mojo and find myself with an almost complete set of hand warmers. I tried and tried last week, and failed and failed. I ripped out whole lace sections of this pattern, not pleased with the look. I neglected swatching and came away with a ridiculous paw of a mitt, not suitable for my friend's delicate hand. But now, ah, I have this.
knitties
knitties


The softest warm simple design with a motif from this pattern. And I can rest, happy with a day that brought some new skills, a new shirt and a nice knit.

Thanks, Thursday, I really needed that.

Sunday, August 02, 2009

Silhouette Stitch Shirt :: A Tutorial

I do not know what it is about the boys growing up. It is making me a sentimental mess. First I start by knitting them school vests though school is months away and we are talking two days a week, not college. And now I am making up projects that secure them to my chest, a place they never really took to until recently (ah, the explosion of toddler curiosity and my non-functioning breasts).
Silhouette Stitch Shirt

One thing I have wanted to do since having children was make shadow silhouettes. Really, it seems like one of the real perks of parenting, to freeze on paper the sweet cheeks and perfectly rounded heads and place them in a classic frame. The execution of the shadow silhouette eluded me until recently. After a failed attempt with paper on wall and a flashlight, it dawned on me that a photo would work just as well. Here is a project that developed from my desire to freeze my boys in time. Hope you enjoy it.

Shadow Silhouette Stitch Shirt
Silhouette Stitch Shirt
This project takes a few steps but I am beyond pleased with the result. Unabashedly sentimental, but sweet in its own way. It borrows heavily from my favorite book, Alabama Stitch Book.

You will need to gather a few things ::
- T Shirt
- Scrap T shirt (I used one of the boys tiny shirts)
- Tracing paper
- Freezer Paper
- Fabric Paint
- Thread and Needle

Step ONE :: Create silhouette

I took a profile picture of each of the boys then printed it as a 10x10 photo.
Silhouette Stitch Shirt
Then I traced their outline and TaDa! Instant silhouette. I used the copier at the library to shrink it to tshirt size but I hear tell there is a new fangled machine called a scanner out there. And something called Photoshop you might want to mess around with.
Silhouette Stitch Shirt

Step TWO :: Create Freezer paper template

Now, lay your freezer paper over your outline and trace the image again then cut out the outline carefully preserving curves and hair wisps etc. I use a cutting mat and straight razor to make sure the details stay clean and sharp.
Silhouette Stitch Shirt

Step THREE
:: Prep and Paint Shirt

Lay your freezer paper on you T shirt, centered and straight and iron lightly until paper adheres to shirt.
Silhouette Stitch Shirt
Apply paint to shirt, making sure to place an extra piece of paper inside the shirt to avoid bleed through of the paint. Let dry.
Silhouette Stitch Shirt

Step FOUR
:: Stitch

Cut a piece of scrap t shirt to layer behind your shadow image.
Silhouette Stitch Shirt
I used black on red, another nod to sentimentality as it is from one of their small worn shirts. Make sure your scrap is a bit bigger than the silhouette image.
Silhouette Stitch Shirt
Pin scrap in place behind the painted image.

Use needle and thread to straight stitch around image. Make sure to catch both layers of tshirt in the running stitch. Also make sure to add eyelashes because baby eyelashes are essential in shadow silhouettes.
Silhouette Stitch Shirt

Step FIVE
:: Cut and Finish Shirt

Carefully cut through top layer of t shirt and cut away silhouette, leaving a thin bit of painted fabric. Be careful not to cut through backing layer, I make a cut in the center then carefully cut from there.
Silhouette Stitch Shirt
Turn shirt inside out and cut away excess backing fabric.

And there you have your own way to wear your heart on your sleeve, I mean chest.

Silhouette Stitch Shirt


I have plans to use the silhouettes for some other projects. I recommend you keep an original template just to have forever.

(You may have noticed I had to draw in Mr mace's lips. We cannot dislodge the dot from his mouth for the last few weeks. Well, we can, obviously as we are the ones in charge (guffaw) but the most terrible of whining ensues and I am just not up for it lately. So, I fudged the lips, and you can too. You have my permission. Pick your battles, that is what I say).