One thing I have wanted to do since having children was make shadow silhouettes. Really, it seems like one of the real perks of parenting, to freeze on paper the sweet cheeks and perfectly rounded heads and place them in a classic frame. The execution of the shadow silhouette eluded me until recently. After a failed attempt with paper on wall and a flashlight, it dawned on me that a photo would work just as well. Here is a project that developed from my desire to freeze my boys in time. Hope you enjoy it.
Shadow Silhouette Stitch Shirt

This project takes a few steps but I am beyond pleased with the result. Unabashedly sentimental, but sweet in its own way. It borrows heavily from my favorite book, Alabama Stitch Book.
You will need to gather a few things ::
- T Shirt
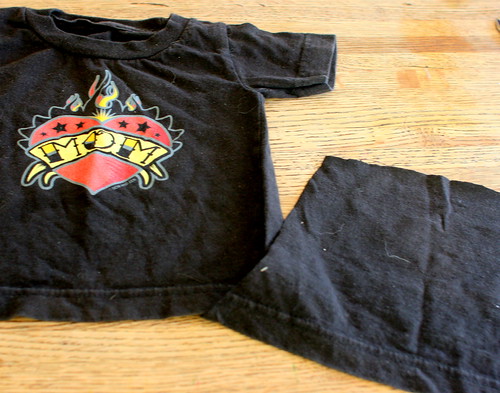
- Scrap T shirt (I used one of the boys tiny shirts)
- Tracing paper
- Freezer Paper
- Fabric Paint
- Thread and Needle
Step ONE :: Create silhouette
I took a profile picture of each of the boys then printed it as a 10x10 photo.

Then I traced their outline and TaDa! Instant silhouette. I used the copier at the library to shrink it to tshirt size but I hear tell there is a new fangled machine called a scanner out there. And something called Photoshop you might want to mess around with.

Step TWO :: Create Freezer paper template
Now, lay your freezer paper over your outline and trace the image again then cut out the outline carefully preserving curves and hair wisps etc. I use a cutting mat and straight razor to make sure the details stay clean and sharp.

Step THREE :: Prep and Paint Shirt
Lay your freezer paper on you T shirt, centered and straight and iron lightly until paper adheres to shirt.

Apply paint to shirt, making sure to place an extra piece of paper inside the shirt to avoid bleed through of the paint. Let dry.

Step FOUR :: Stitch
Cut a piece of scrap t shirt to layer behind your shadow image.

I used black on red, another nod to sentimentality as it is from one of their small worn shirts. Make sure your scrap is a bit bigger than the silhouette image.

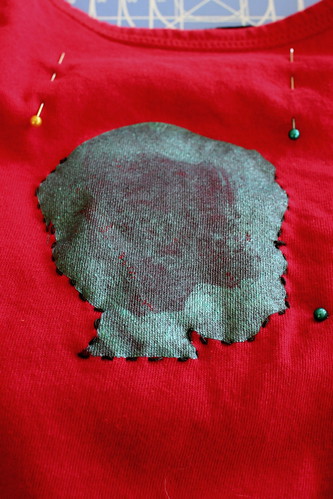
Pin scrap in place behind the painted image.
Use needle and thread to straight stitch around image. Make sure to catch both layers of tshirt in the running stitch. Also make sure to add eyelashes because baby eyelashes are essential in shadow silhouettes.

Step FIVE :: Cut and Finish Shirt
Carefully cut through top layer of t shirt and cut away silhouette, leaving a thin bit of painted fabric. Be careful not to cut through backing layer, I make a cut in the center then carefully cut from there.


Turn shirt inside out and cut away excess backing fabric.
And there you have your own way to wear your heart on your sleeve, I mean chest.

I have plans to use the silhouettes for some other projects. I recommend you keep an original template just to have forever.
(You may have noticed I had to draw in Mr mace's lips. We cannot dislodge the dot from his mouth for the last few weeks. Well, we can, obviously as we are the ones in charge (guffaw) but the most terrible of whining ensues and I am just not up for it lately. So, I fudged the lips, and you can too. You have my permission. Pick your battles, that is what I say).

8 comments:
You are on a roll with the making lately! Adorable.
More importantly, where did you get the tshirt you are wearing? I can never find good tshirts that accomodate the girls and are still fitted around the waist like that!
So freaking cute, and so nice of you to write up a tutorial. Every time I see one of your stitching posts I think "we need to sew together!" I don't know if sewing is really a group activity, but I would certainly like to soak up some of your stitching ability. Love, J
Oh my gosh those are freakin' adorable.
Very cool, I love doing freezer paper stencils. I need to be making more cool stuff for my boy, but there seems to be an endless string of new babies out there that need knits!
Very Impressive keep posting such kind of stuff.
Simply outstanding you are really creative mind person.
Post a Comment