A note :: These are simple enough but take a rudimentary knowledge of sewing, a sewing machine and an iron and, er, that's about it. I tend towards the picture heavy, so follow along if you please and make your little peeps or yourself something fun for All Hallow's Eve or any day of the week when you need to feel like a Hero.
(Ooooh, I feel so clever for linking back to my last post. Dork.)
You will need two fabrics, solid or print, and felt from the bolt, not those small paper size squares sold at JoAnn's (unless you want to sew more than you have to).
Be safe and get about a yard of both fabrics.

I made a few with a cute print from Ikea. If you have an Ikea near, check out their children's fabric section. They sell it by the yard, it is super wide and the prices are great.
Okay, so on the measurements. I was making these production style so I tried to optimize fabric. The reason for my measurements is that a yard folded in half yields about a 22-23" bottom width of the cape .. feel free to adjustment measurements as you see fit.
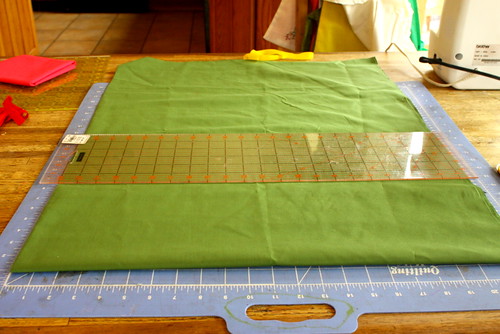
The cape length is about 24-26" long as I am sewing for very little people. Fold your fabrics in half, matching the clean selvage edges and stack them on the cutting board.
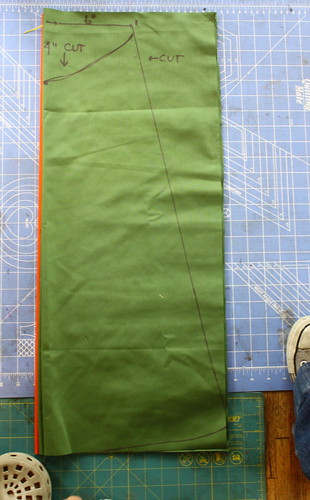
I marked them for you so you can see the cutting dimensions but you should avoid marking them (especially with Sharpies because it bleeds like a mofo).
Cut along your preferred dimensions and then cut a nice little scoop for the neck area and a shallow scoop for the cape bottom.
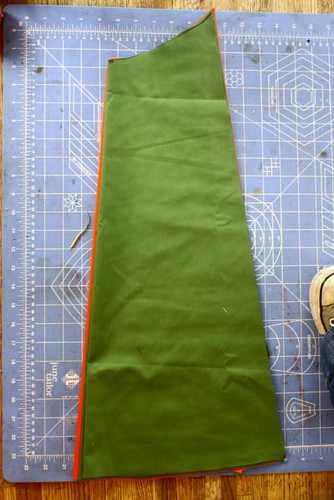
Pin both fabrics together RIGHT SIDES together, very important if you are using a print fabric. Not so much if you are using solids (eh, they are 4 and do not notice things like fabric grain and side).
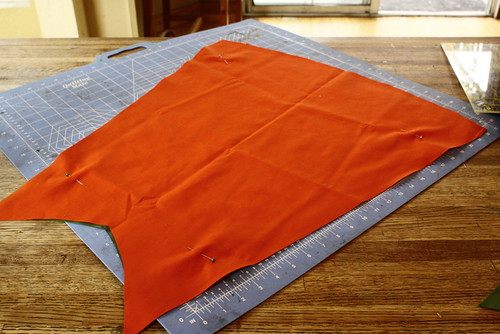
(And by the way, I realize that my cheap cutting mat is horrifically dirty because it is stored on the floor and other places that it should not touch, but I did not clean it and you will just have to ignore my inattention to that detail. Okay?)
Start at the bottom of the cape and sew all the way around the cape to join the two sides (remember, RIGHT sides together) and leave a nice sized opening for your hand to fit through so that you can turn it.

IRON your seams (trust me, ironing forgives many seaming sins) and turn the piece RIGHT side out and poke the corners with a knitting needles to get them fully poked out (technical term, of course). Then IRON it again until it is all nice and flat and crisp.

Now, for the neck line. I used felt from the bolt. It is long and you can get a lot of mileage from it. Also it does not require seaming and bends nicely to fit the neck curve. Cut a piece about 3 inches wide and 24-26" long and fold it long ways and IRON it well.
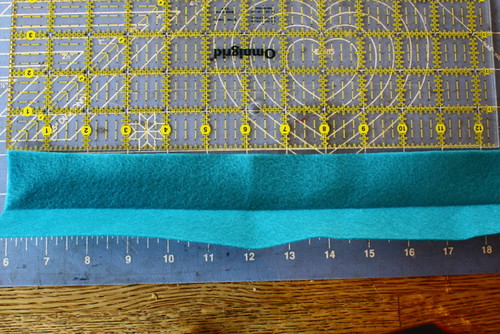

(God that cutting board is disgusting. Not a word, you. Not a word.)
Then fit it to your curved neckline and pin in place, then seam it from end to end making sure to catch all edges in the seam.
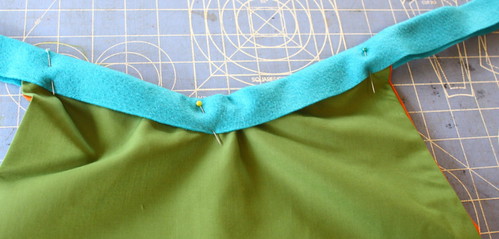

And guess what? YOU have made a simple sturdy cape for your child's pleasure. Or yours if you are going with the adult HERO theme for Halloween.
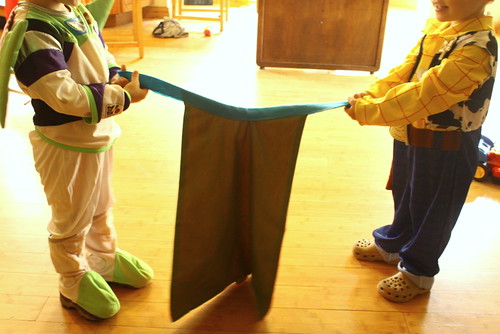
Cut an initial from felt and hot glue gun in place. Or use sticky Velcro. And for the neck you can tie it on or put some more Velcro at the neck closure area (so your kid does not keep asking you to tie it on .... no take it off! ... no put it back on! ... no) (you get the idea, I sure did).
JoAnn's carries a nice iron-on Velcro that I am using. And then you really are done.
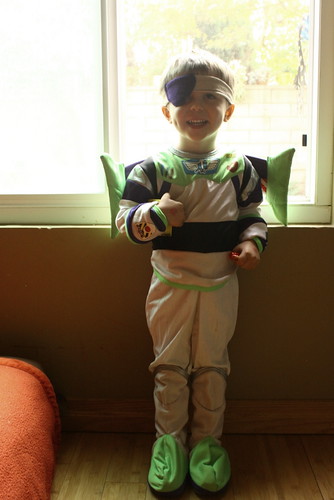
And then you can make a pirate eye patch from some felt left overs and t-shirt material.

And have the cutest Pirate Buzz Light Year who will not wear a cape because he has wings to fawn over.
Fini.

4 comments:
Too cute! I wish I had someone to make a cape for!
Of course, I can't make the capes. But LOVE the Halloween costumes. Our entire family is dressing as characters from Toy Store this year.
You ROCK! I went to Joann's today and got this cheap black cotton with a faint grey scroll pattern on it and red cotton for the lining. I was going to be all ambitious and get red satin but I didn't want to end up throwing my sewing machine across the room (my last experience with slippery satin was not pretty). I am also making funky felt crowns with initials inside the crowns since they are princes, you know! I can't WAIT to make these. Don't know if I'll blog about it but I'll def post on flickr.
PS - when did your adorable babies turn into handsome little men?
Oh my god! so nice! I love the boys costumes :) they are so precious, and getting sooo tall. love you so much!
Post a Comment